Main
Menu:
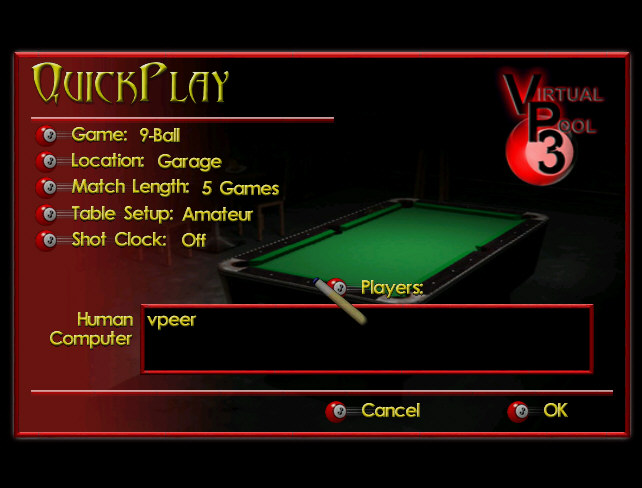
When the game starts, you’ll be given a list of options to choose from. This section describes the menu items, what they do, and how to use the menus.
If you want to get into a game
quickly, choose the Quick Play
option. Once you have all of your
settings the way you want them, click on the Ok button in the bottom right hand corner of the screen.
If you’d like to go back to the Main
Menu, click on the Cancel button.
Game: Simply
click the cursor on the type of game you’d like to play, and then click the Ok
button. If you change your mind,
hit the Cancel button.
Choose between the following games:
See the
Rules and Tips section for
details on specific rules to each type of game.
Match Length: Adjust the number of
matches you’re going to play by using the cursor to click up or down on the
buttons. The maximum number of
matches is 50, and the minimum is 1.
Table Setup: Table adjustments allow you to tailor the table to your skill level and desired playing difficulty. All tables have adjustments for Table Speed and Rail Speed. There are three preset table adjustments: Amateur, Pro, or Champ.
Selecting a preset changes the table parameter sliders. You can further customize any preset by moving the sliders. Pick the Custom option to customize the sliders. Pressing the buttons up(higher numbers) will make the table more difficult and pressing the buttons down(lower numbers) will make the table easier. If you wish to remove customization just click on a preset again. The adjustable parameters are:
Table
Speed - changes how fast the balls slow down when rolling
Rail
Speed - changes the rail rebound
Pocket
Size - changes the size of the pockets
Pocket
Cut - changes the angle cut of the pockets
Try
starting with the Amateur setting and play until you are proficient at making
shots and get a feel for the table speed. When you think you need a challenge,
move up to the Pro Table and/or move the table setting to Championship. The
Champ setting is for Virtual Pool 3 sharks. Most pool halls have tables set up
somewhere between the Amateur setting and Pro setting. Championship tables are
usually only found at tournaments and often only in the finals.
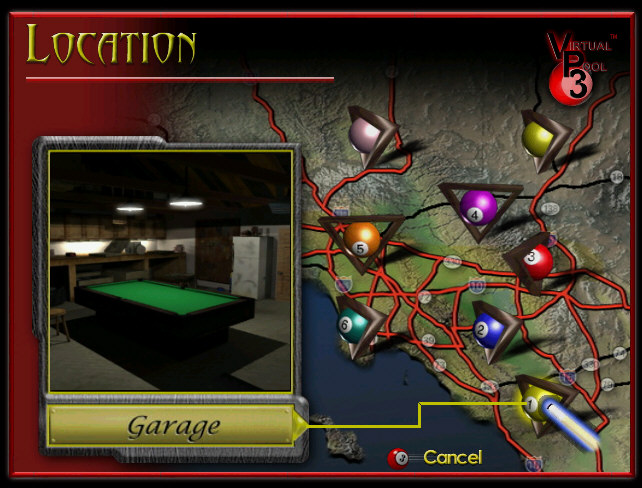
Location: Choose between different locations to play your game of pool. There are 8 different locations with 3D environment backgrounds, 4 of which must be unlocked in Career Mode before they can be played in Quick Play. If you’d just like to see a table displayed with no background environments (when you’re in the game), hit Escape, then click on Settings, then Graphics, and deselect Room Background to turn off the backgrounds. This will help if your computer is running slowly and having problems displaying the graphics. Once you’ve picked the location you want, click on the OK button to continue or double click on the location with the cursor.
Shot Clock:
If you’d like to use a shot
clock(it puts a limit on the amount of time you have to take a shot) and change
the settings for it, choose this menu.
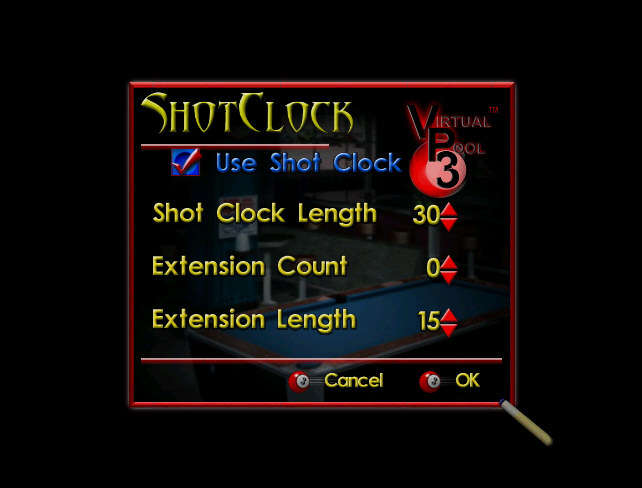
If you want to use the shot
clock, click on the blue box. The Shot
Clock Length is adjustable from 5 seconds to 99 seconds.
The Extension Count is how
many times you will be warned until you lose your shot.
It is adjustable from 0 to 9. You
can also set the length of time for each extension by adjusting the Extension
Length option. The length of
each extension is adjustable from 0 to 60 seconds.
Players:
Right away you’ll want to create
your own character. There is a Create
Character option on this screen. Click
on it. Enter the name of the
character you’d like to create, and click on the Ok
button.
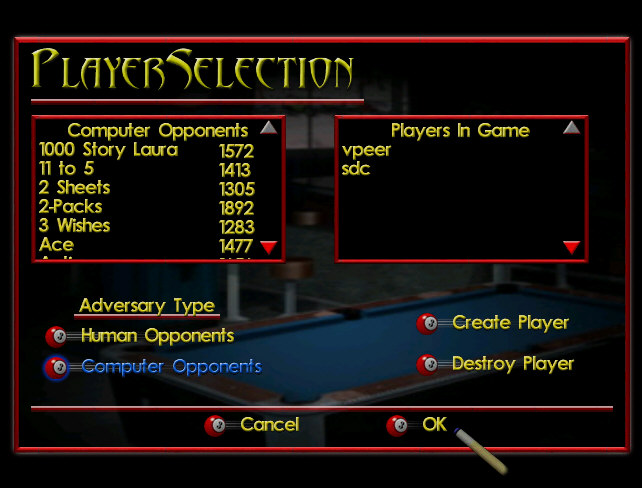
To add the player to the game, click on their name in the left window. To remove a player from the Players In Game box, click on their name in the right
If you want to play against a
specific computer opponent, you can choose between them, by selecting the Computer
Opponents option, and using the up and down arrows to move through their
names in the box in the upper left corner.
If you want to play against
another human player(sharing the same computer) select their name from the Human
Opponents list.
If you just want to shoot by
yourself, only add your name to the Players
In Game box on the right.
Career
Play: If
you’d like to play the new Career Mode, select this option from the Main
Menu. You will be able to play through all the pool halls/rooms and
play against tons of challenging computer opponents. Hustle your way to the top until you have both the skills and
money to even stand a chance against Curly.

If you already have a career in
progress, it should appear within the Career
window. Each career is labeled by
the player’s name, the game they are playing, and the difficulty level of the
career.
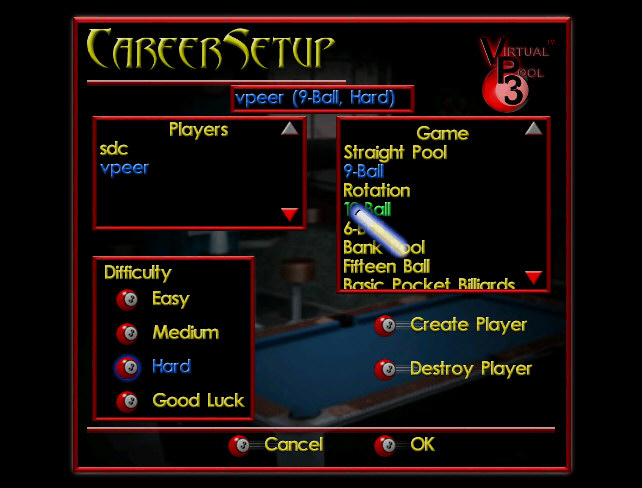
If you want to start a new
career, click on the Start New Career
button. This will take you to a
menu where you can choose the player you’d like to play with, the game you’d
like to play (You can choose between 9-ball and 4 variations of 8-ball rules),
and the difficulty level (Easy, Medium or Hard).
You can Create a new player, and destroy existing ones.
Once you are satisfied with how
you’ve set up your career, hit the Ok button, and go back to the Career
Play Menu. Hit the Ok button to
start your career.
See the Career Mode section for more instructions
on how to play the Career mode, and use the Career
Mode Menu. (the menu that appears when you start a career, or press ESC
during a game)
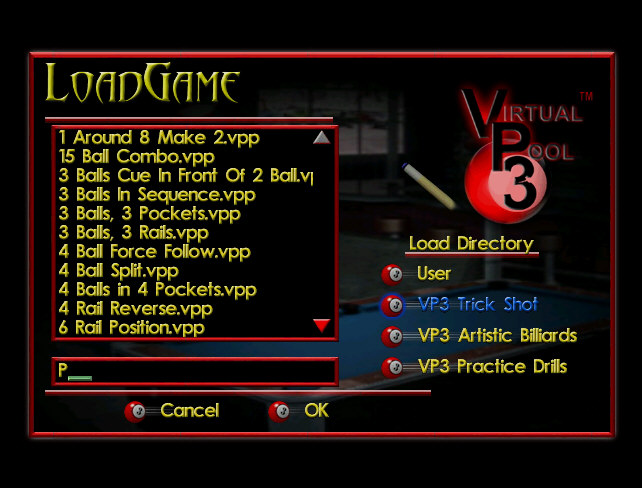
Load
Game: If
you’d like to load a game-in-progress that you saved previously, go to the Load
Game Menu. Double click on the
game name, or click on it once and hit the Ok
button to load the game.
Internet
Play: When
you click on the Internet Play choice
on the Main Menu, Virtual Pool 3 will
minimize, and Gamespy Arcade™ will
launch. Look at the Enhanced
Online Play section for more instructions on how to connect to Gamespy Arcade, and how to
play Virtual Pool 3 Online.
For instructions on how to play in challenge
rooms, tournaments,
leagues, and ladders refer to the Enhanced
Online Play section of this help guide.
Lan
Play: When
you choose Lan Play from the Main
Menu, the first screen will be the Player
Selection screen.
On the left is the list of Human Opponents to choose from. Click on the player’s name that you’d like to put into the game. If you want to create a new player, choose the Create Player option. If you want to destroy a player, select the player’s name and choose the Destroy Player option. Hit OK when you are ready, or Cancel to go back to the Main Menu.

On the Session Menu, there are Host Session and Join Session options. If you want to create a room, and host the game on your computer, select the Host Session option. If you want to join someone else’s room, then select Join Session. If you’re selecting Host Session, you can put the name of your room in the space provided. Click on the space with your mouse, and type in the name of the room you’d like. Once you’ve made your selection, click OK.
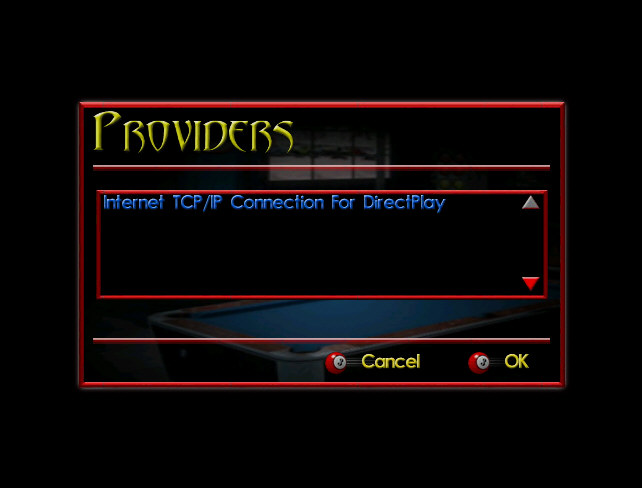
Regardless of whether you’re
trying to host a game or join a game, you will have to indicate what type of
connection you want to play on the Providers
Menu.
Choose between TCP\IP or IPX. For
Lan play, IPX is easiest because you don’t need to specify the Host’s
IP addresss to join the game.
Choose the protocol by double
clicking on the option in the list. Click
on the Ok button when you’re ready
to proceed, or hit Cancel to go back
to the Session Menu.

If you choose to just join a game, you will be asked to put in the Host’s IP address of the game you’d like to join (only for TCP/IP). If you want to search a Local Area Network for the game, don’t put any address in the space provided (leave it blank).
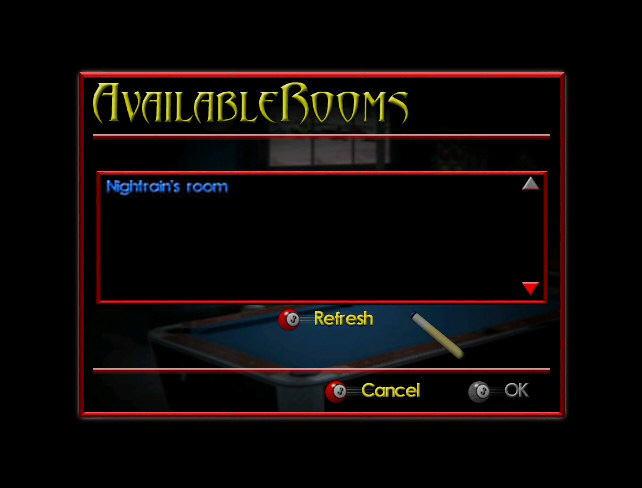
You will be provided with a list
of rooms available to join. Double
click the cursor on the game’s name that you’d like to join.
If you’d like to see if any of the games have changed (more or less
people, etc…) select the Refresh button from the bottom of the menu.
This will update all the listed games with the current information
available.
If you selected the Host
Game option, you will be presented with the Remote
Play Menu.
Choose between all the normal
play options. Choose between the
games on the Game Menu, just like in
the Quick
Play Menu. Also choose
which Location to play, just like in the Quick Play Menu.
The host can put anyone into a
match who is has joined the game. Players not selected will be spectators.
Computer opponents can be inserted into Lan games.
If you’d like to practice a
specific shot, or shoot trick shots, choose the Trick/Setup Shot option from the Main Menu.
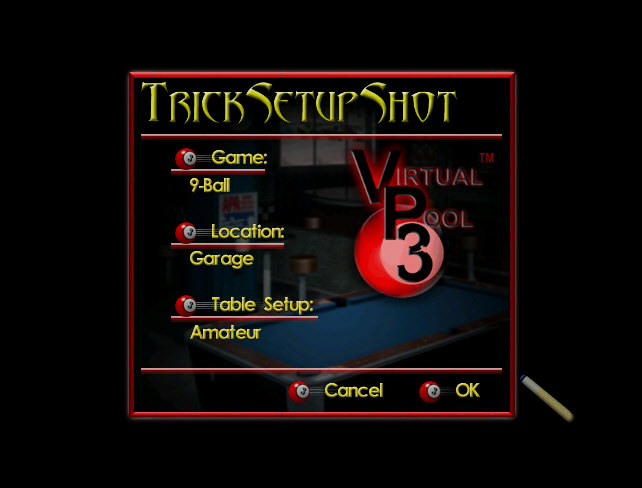
You can specify which type of
game you’d like to play, the Table
Setup (see Quickplay,
Table Setup for more information on that menu), and the Location
of play.
You can place the cue ball wherever you want by pressing and holding the M key and then moving the mouse into position. While in Move Mode, a green 3-D cursor will appear above the selected ball. To select a different ball to move, press and hold the H key down, move the cursor (using the mouse) over the ball you want to move, then release the H key.
The cursor will lock to the nearest ball, which you can then move by holding the M key and moving the mouse.
You can add or remove balls from the table by pressing the Insert key (INS) to open the Spot/Pocket Balls window, and then clicking on the balls you wish to spot or pocket.
To re-rack the balls, hit Esc and select New Game.
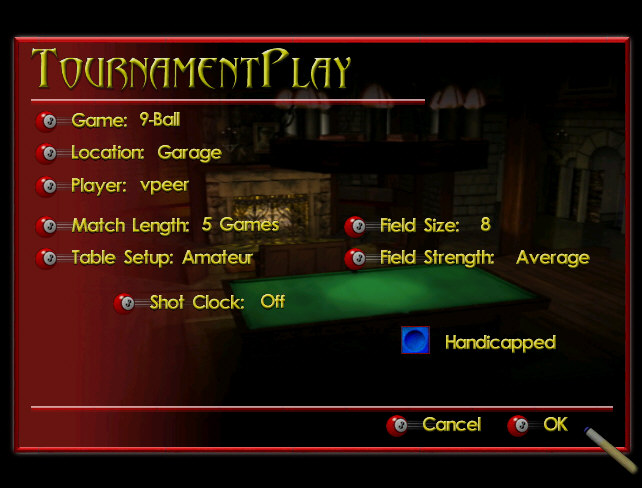
Tournament:
Selecting the Tournament
option from the Main Menu will bring
up the Tournament Play Menu.
If you’d like to play a set of games in a tournament against a variable
number of computer opponents, this is where you’d set that up.
Game: Select
between the different pool games. See
the instructions in the Quick
Play, Game section.
The games, One-pocket, 3-Cushion Billiards, 1-Cushion Billiards, and
Cowboy aren’t available as tournament games.
Location:
Select between the different
locations to play your tournament. See
the instructions in the Quick
Play, Location section.
Player: Select
your player just like you did in the Quick
Play, Player section.
See instructions for adding players, removing players, creating players,
and destroying players.
Match Length(Games): You can choose between 1 and 50 games to play against each opponent in the tournament. A set of games is called a Match between players.
Field Size:
Field size is how many players you
have in the tournament. Choose
between 4, 8, 16, or 32 players.
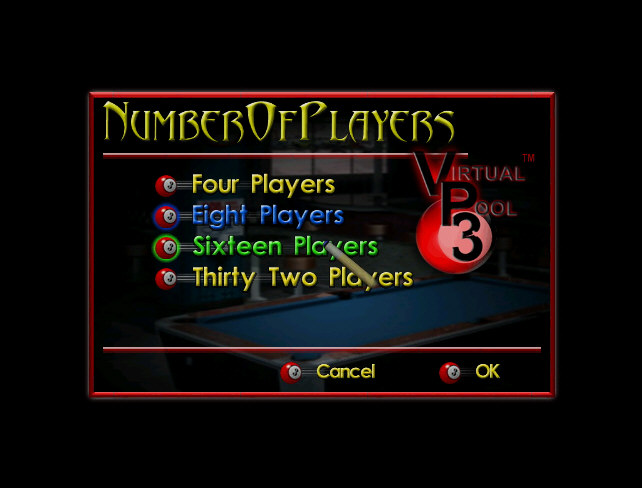
Table Setup: Change
the table parameters. See the Quickplay,
Table Setup section for more
instructions on how and why to set up your table.
Field Strength: The Field Strength is how good the players are in the tournament.
Choose between Weak, Average, and Strong
players.
Shot Clock:
Turn the shot clock on or off.(A
shot clock limits the amount of time you have to take a shot.)
See the instructions for the shot clock in the Quickplay,
Shot Clock.
Handicapped:
Checking the Handicapped option creates a tournament that
handicaps players by giving games to the weaker player. If you are a weaker
player than your opponent, you will start the match with one or more games won.
If you are stronger player, your opponent will get games.
If you and your opponent are about equal both players start with zero
games. This feature allows you to
play opponents further from your player rating.
Statistics:
If you’d like to keep track of the
all the statistics of the games you’ve played, choose the Statistics
option from the Main Menu.
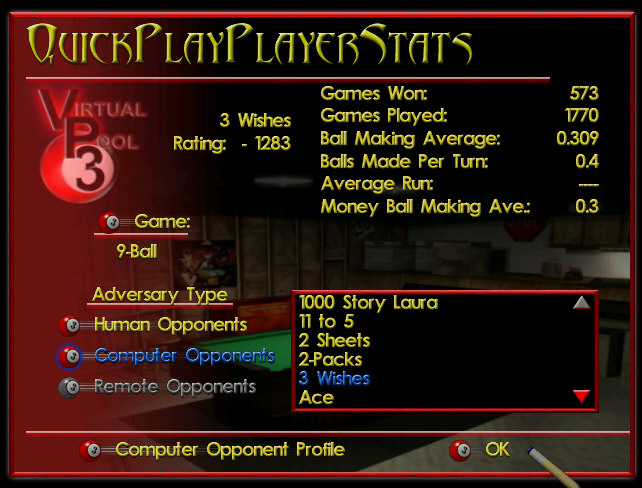
Choose between Human and Computer
players. Then click on the name of
the player whose record you’d like to look at.
If you’d like to see the player’s record in a different game(the
default is 9-ball) then click on the game name(if it’s still 9-ball, click on
the words “9-ball”). You’ll
then be shown a menu much like the Game
menu that is available in Quick
Play.
If you’d like to look at a
Computer Player’s profile, select the computer player, and then press the Computer
Opponent Profile button at the bottom of the screen.
The Computer Player Profile will show their description, the cue they
use, and all their skill levels and advantages/disadvantages.

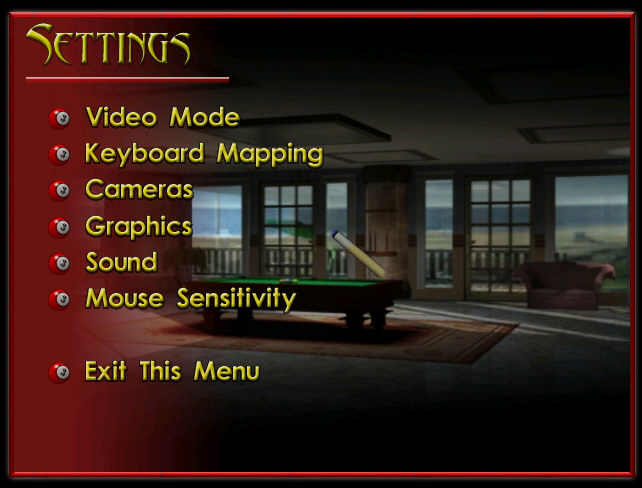
Settings:
Select the Settings
option if you’d like to change the options for the game.
Video Mode:
Choose the screen size/resolution
and color-bit depth you prefer based on performance and your personal style.
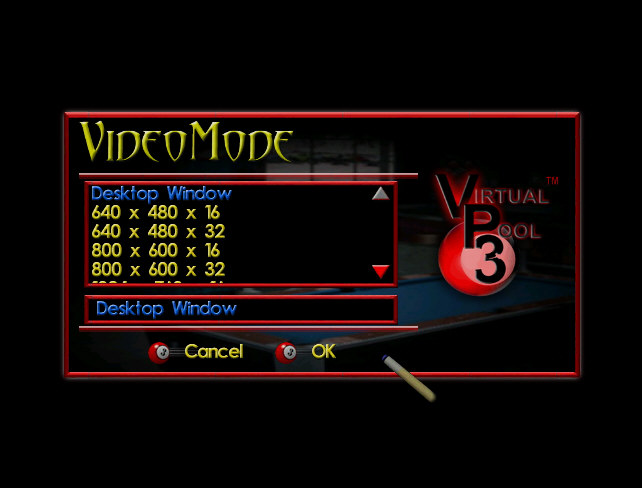
The largest resolution and
color-bit depth is 1600X1200X32-bit color.
Keyboard
Mapping: Selecting
this option brings
up the Key Re-mapper dialog which allows you to change which keys control which
Virtual Pool 3 functions.
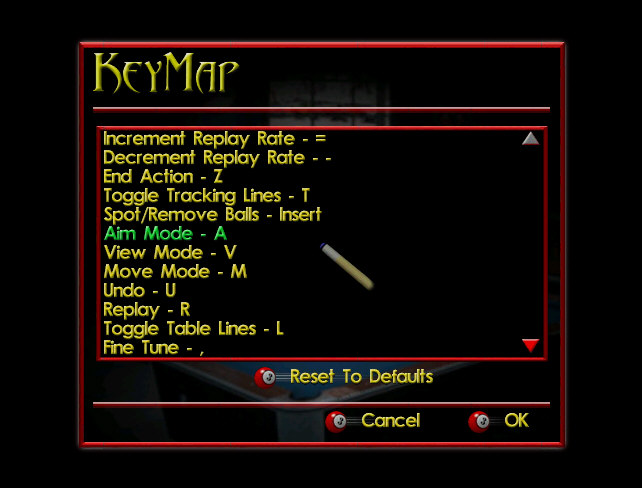
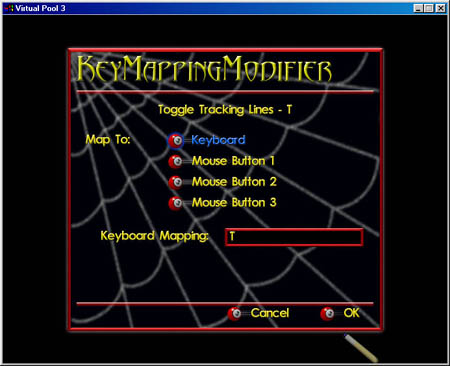
The Reset to Defaults button restores the Virtual Pool 3 standard key setup. By clicking a function in the list, a Modify Key Map dialog appears allowing you to enter a key or mouse button. When you exit the Key Re-mapper by selecting OK, you will be notified of any conflicts in key assignment. Resolve the conflicts and then exit. Selecting the Cancel button will exit the re-mapper without making any changes.
Cameras:
Here you can adjust your camera
options.

Field
of View
You can adjust the Field of View from 10 degrees to 60 degrees.
Real
Life- Clicking on this button will
set the FOV to 40(the default setting)
VP2/Hall-
Clicking on this button will set the FOV to 24(the FOV from Virtual Pool
2 and Virtual Pool Hall).
Action
Camera
Do
Nothing- When you hit the cue ball, the camera won’t move at all, remaining
stationary where it was when you shot.
Follow
Ball- When you’ve shot the ball, the camera will follow the cue ball.
Auto-Zoom(default)-
When you’ve shot the ball, the game will automatically zoom out from
the shot so you can see the whole table, and see the results of the shot on all
the balls.
Aiming
Options
Auto
Line Up- Virtual Pool 3 will point
the cue in the direction of the next ball to shoot.
It won’t perfectly aim your shot for you though, so that’s up to you.
Same Aim
Distance- The beginning of every shot will be from the distance and pitch it was
when you took the last shot. With
this option off, the viewing distance is set to a standard distance and pitch.
Adversary
Camera
Do
Nothing- If selected, when your opponent shoots, the camera angle won’t change
to show you his shot.
Down
Table- If this option is selected the camera will automatically position itself
down table from your opponents shot.
User
Defined- If this option is
selected, you specify the camera angle while your opponent shoots.
To set the view: hit V to change to viewing mode and then hit Ctrl-A.
Replay
Camera
Do
Nothing- The camera won’t move
during a replay.
Use Action Camera- Follows whatever setting you have for the Action camera.
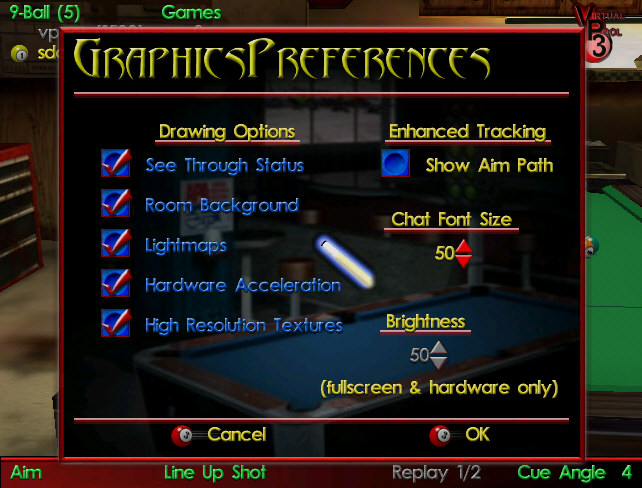
Graphics: Here you can fine-tune your graphics options.
Hi-detail(Drawing Option)
Toggles
off and on the detailing of the rooms. If
you’re having a performance problem, turn down the details.
Room Background(Drawing Option)
Toggles
off and on the Virtual Pool 3 3-d room. If
you are having performance problems or just want to concentrate on the table
more, try turning off the background.
Lightmaps
Toggles off and on the Lightmaps in the game. If you are having problems with performance, turn off the Lightmaps. Some video cards don't support light mapping, but the game will look better on those that do.
Brightness
Adjust the brightness by pressing up or down on the arrows next to the option. The higher the number, the brighter the screen will be.
You'll be unable to change the brightness in Desktop Mode.
Show
Aim Path(Enhanced Tracking Option)
Toggles off and on the tracking
between the cue and object ball.(the white ball, and the ball you are trying to
aim for)
Sound: Toggles
sound effects for Virtual Pool 3.
Mouse Sensitivity: There are two sensitivity settings. One setting is for the cue stroke and the other for rotation and zoom.
Lower
cue stroke sensitivity setting are better for controlling cue ball speed. Only
set this slider high enough to hit a very firm shot. For really hard shots or
break shots use Amplify (>).
Set
the rotation and zoom sensitivity where you can rotate and zoom with ease. This
setting affects your aiming resolution. If you need more resolution on a really
tough shot use Fine Tune (<).
Exit This Menu:
To exit the Settings Menu, and
go back to the main menu, select the Exit
This Menu option.
Demo:
Selecting this menu item will
automatically load a demonstration game between two computer opponents, and play
it out in front of you on-screen.
Quit:
If you’d like to exit Virtual Pool
3 and go back to your desktop, select the Quit option.